How to add contour lines to a football helmet!

Hi Everyone! I am using Autodesk 360 to create a fixture I want to attach to a football helmet. I grabbed a really nice model of a football helmet from GrabCad, and uploaded it into Autodesk 360 as an STL file. I am now trying to make the shape of my fixture design follow the contours of the helmet. Any idea how I could do this? When I am trying to sketch onto the helmet, the sketch ends up in another plane. I am having trouble sketching onto the STL file. Please see the figure I have attached!
Thanks in advance!
Sean

2 Answer

I don't know Autodesk 360, but do you have to work with an STL file? I'd try to import the model in almost any other format (iges, step, parasolid) before trying to work with a mesh model (stl).
Can you create a plane that passes through the helmet were you want to create your sketch? By creating the plane, it should be precisely where you need it to be.
I doubt you'll be able to sketch directly on the surface of the helmet, but you could sketch a 2D sketch on a plane, and then project that onto the helmet. The act of projecting would give you the 3D contour you are looking for.
Even if a dedicated "project" tool was not available, it could still be done by extruding a body, or surface, then creating a curve at the intersection of both bodies.
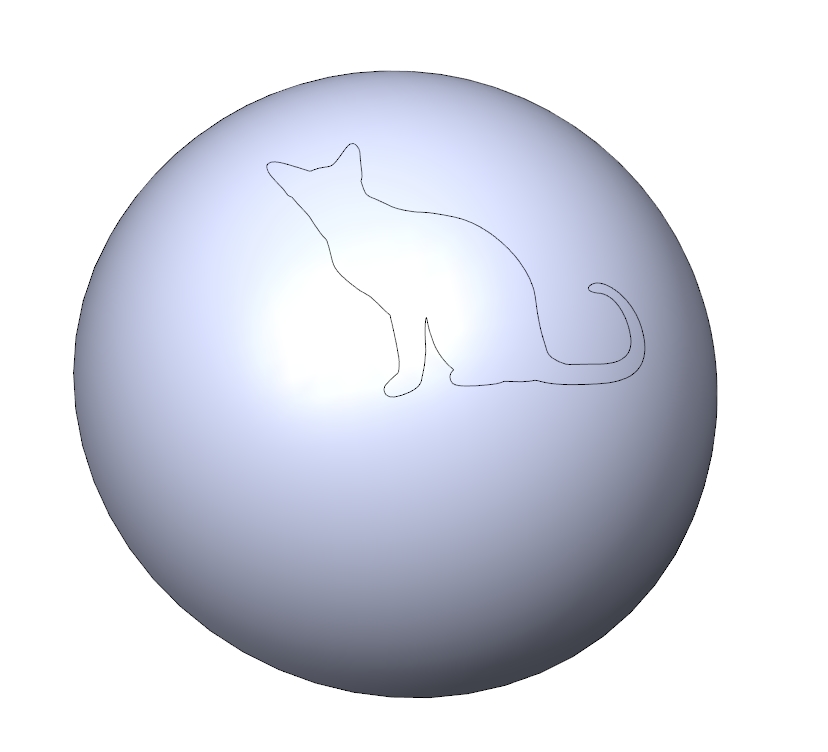
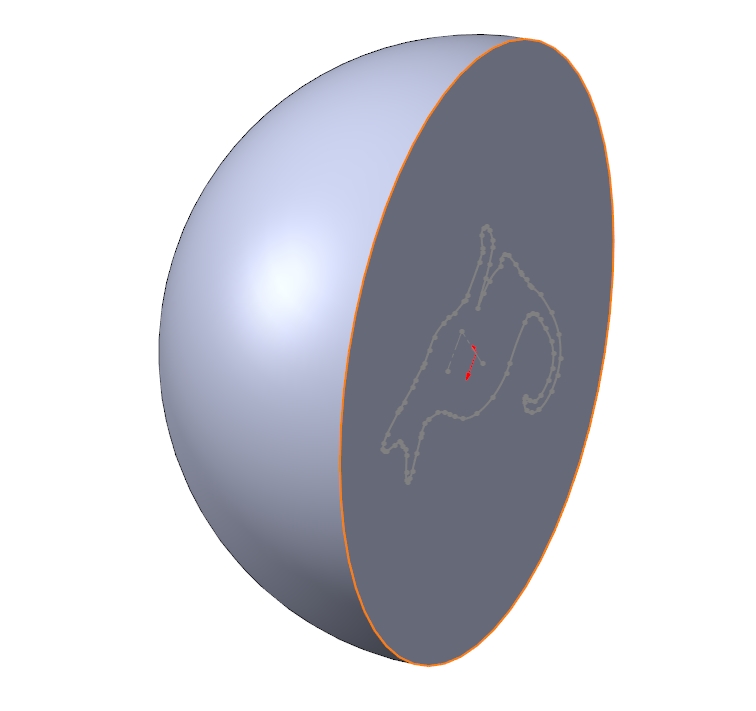
As an example, Let's say my helmet is represented by this hemisphere, and I want a cat logo/contour added to it:
1. make helmet
2. Sketch cat on flat face/plane, because sketching on a curve is less fun
3. Project cat sketch to curved side of helmet
4. Modify as desired.