

Advanced Part Modeling


Advanced Part Modeling teaches you how to use multi-body solids, sweeping and lofting features, and the more advanced shaping capabilities of SOLIDWORKS. In this tutorial we can see how we can perform Free form, Deform, Flex, & Wrap. In this tutorial first we start with dome feature.
-
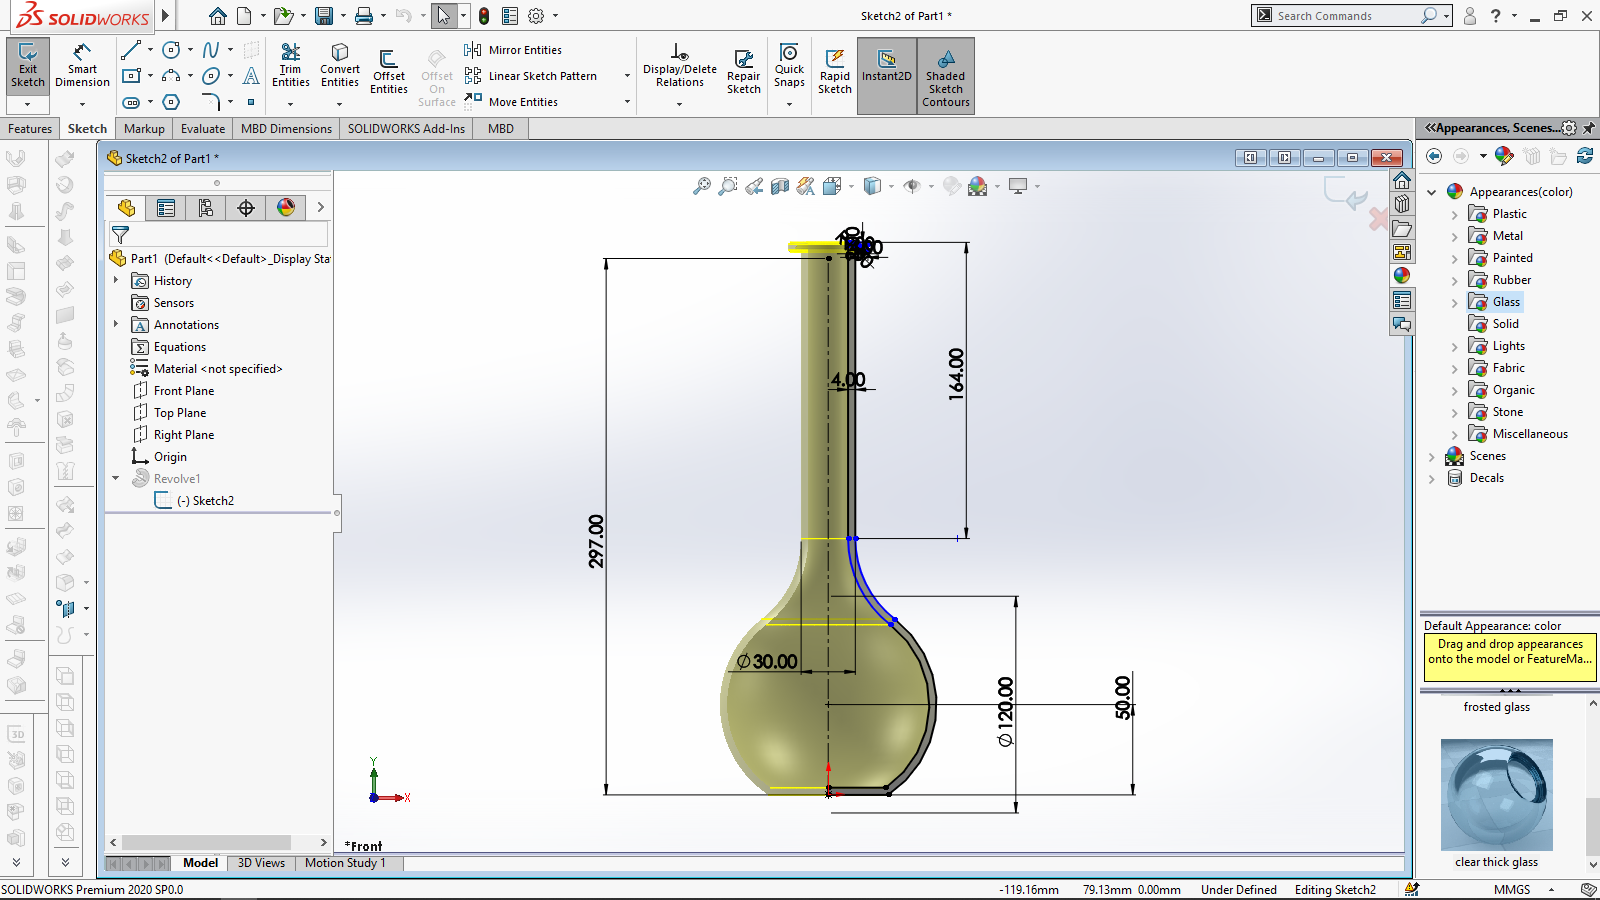
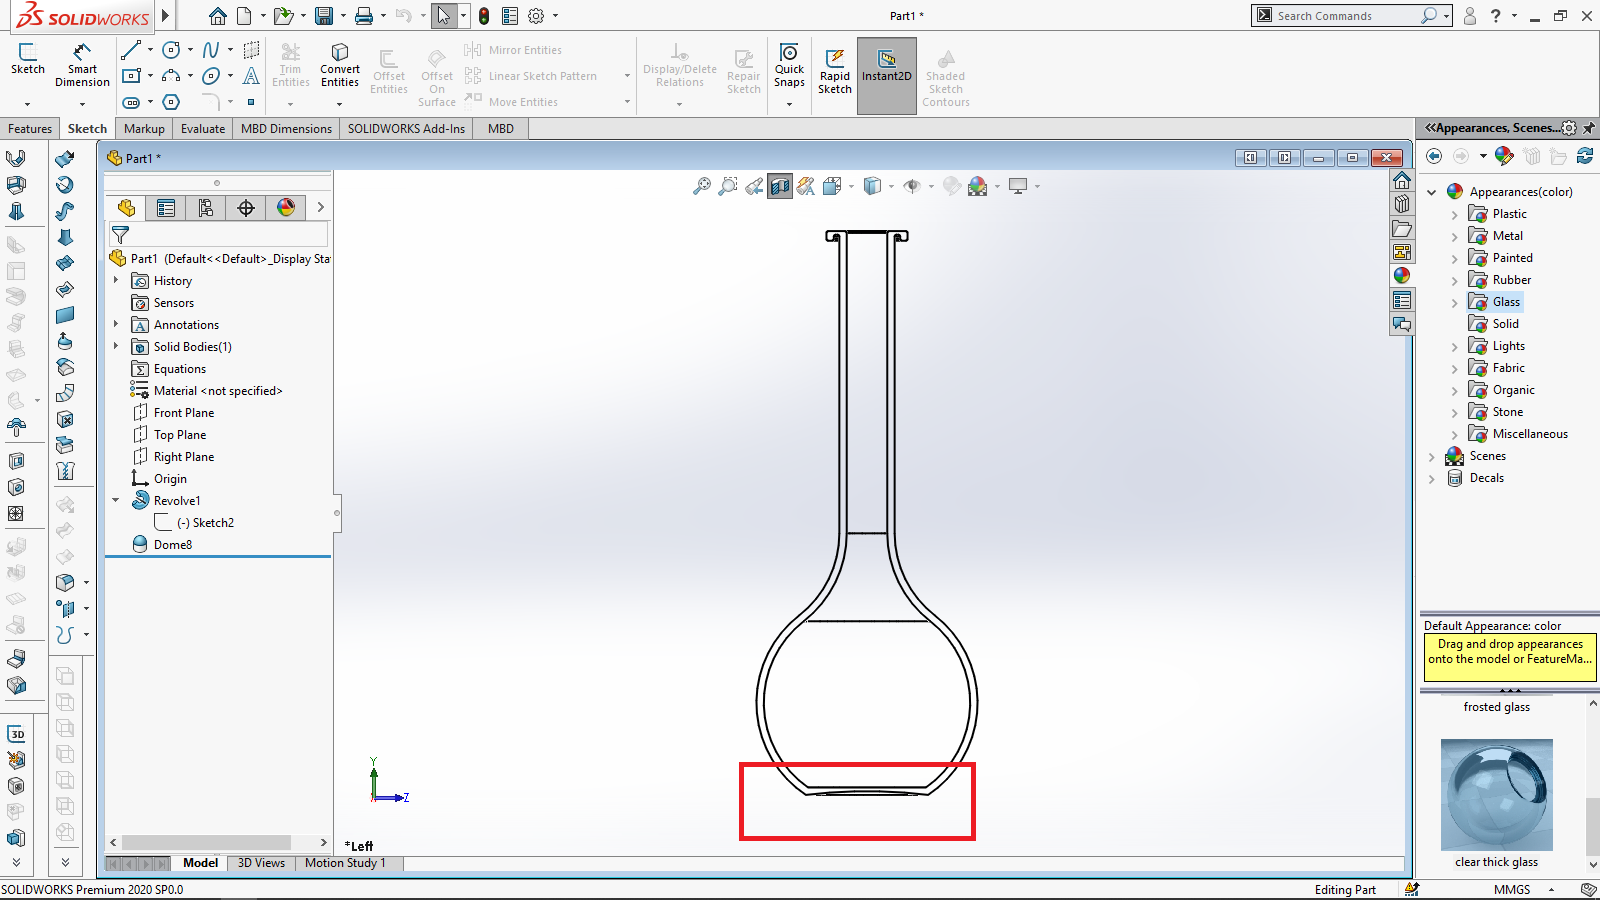
Step 1: Creating the sketch
In this step we take real life example life volumetric flask used in chemistry laboratory

-
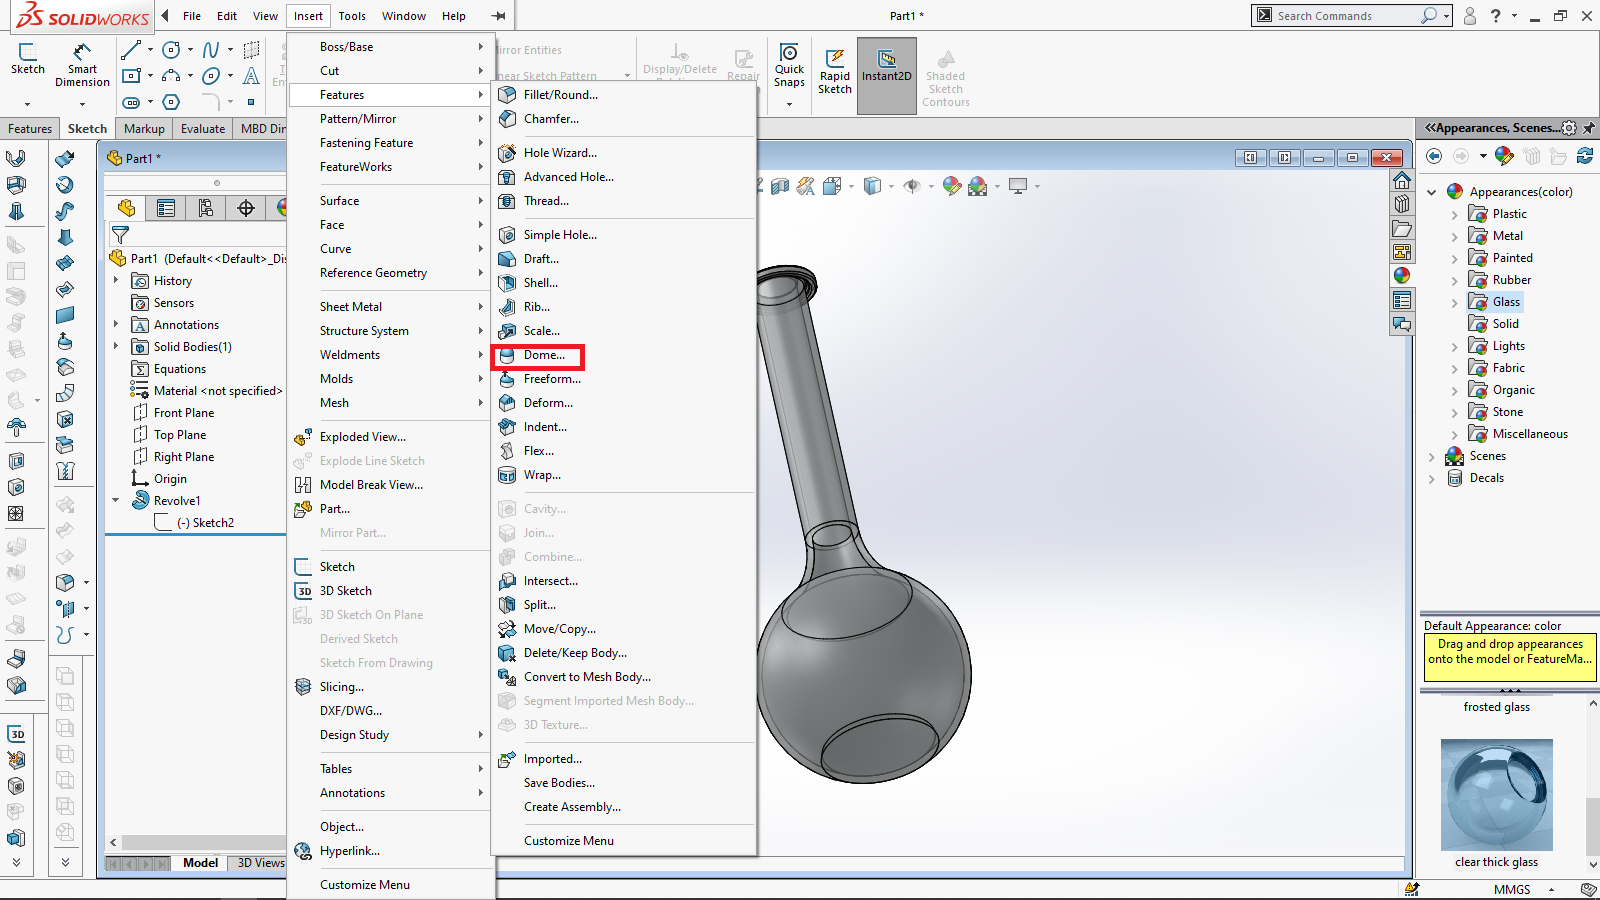
Step 2: To create a dome
Click Dome on the Features toolbar, or click Insert > Features > Dome.
-
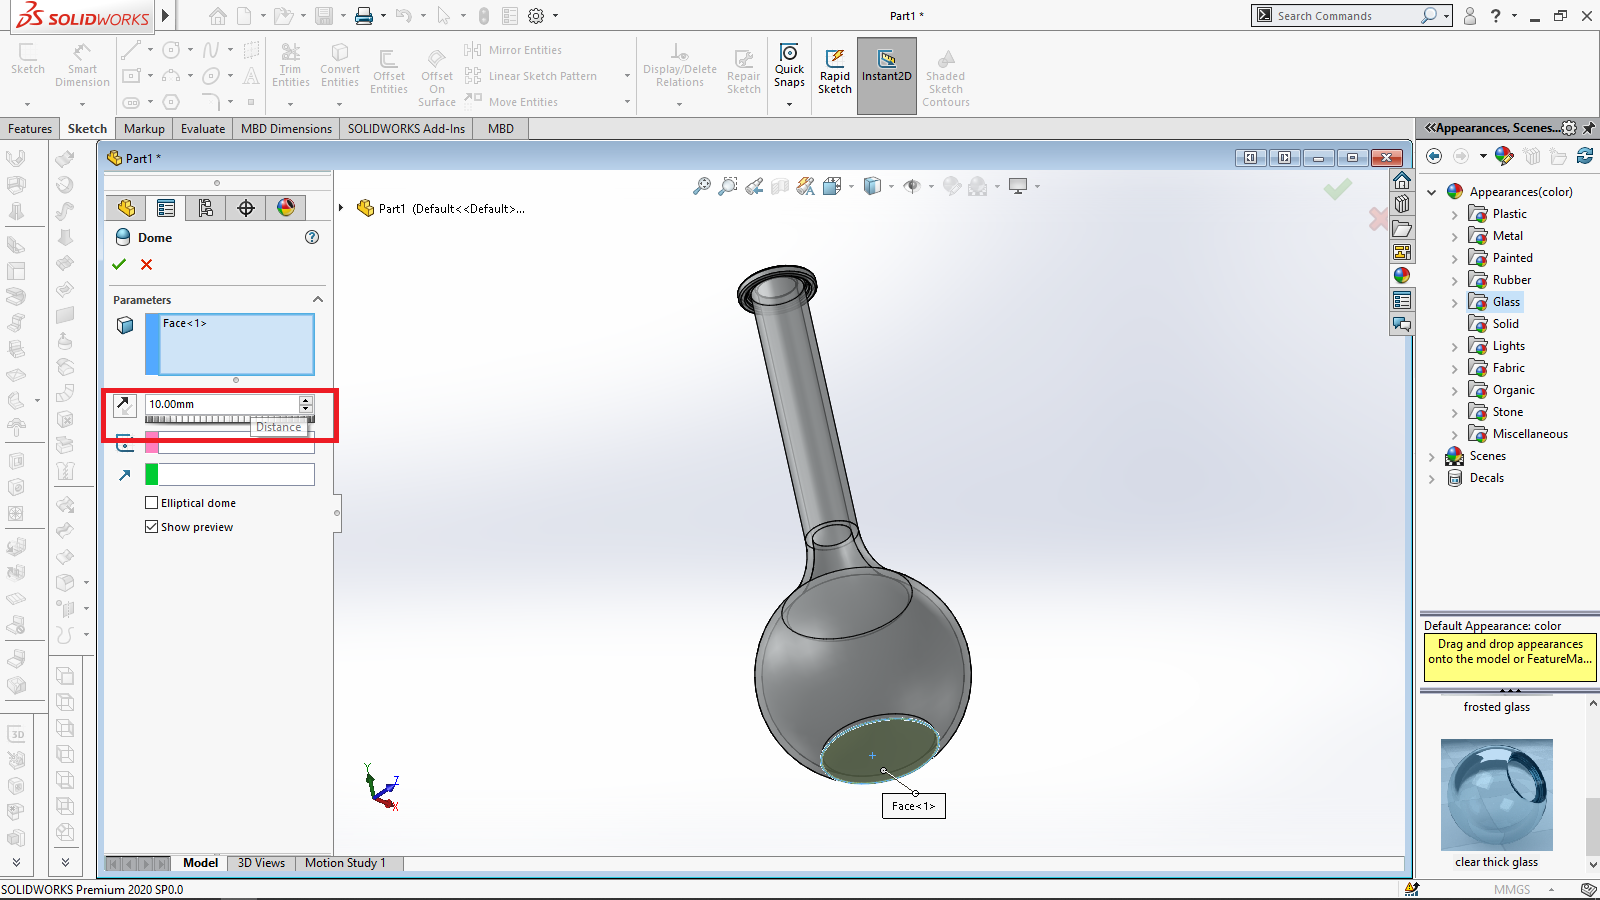
Step 3: Faces to Dome
Select one or more planar or non-planar faces.

-
Step 4: Dimension dome
Set a value for the distance by which the dome expands.
-
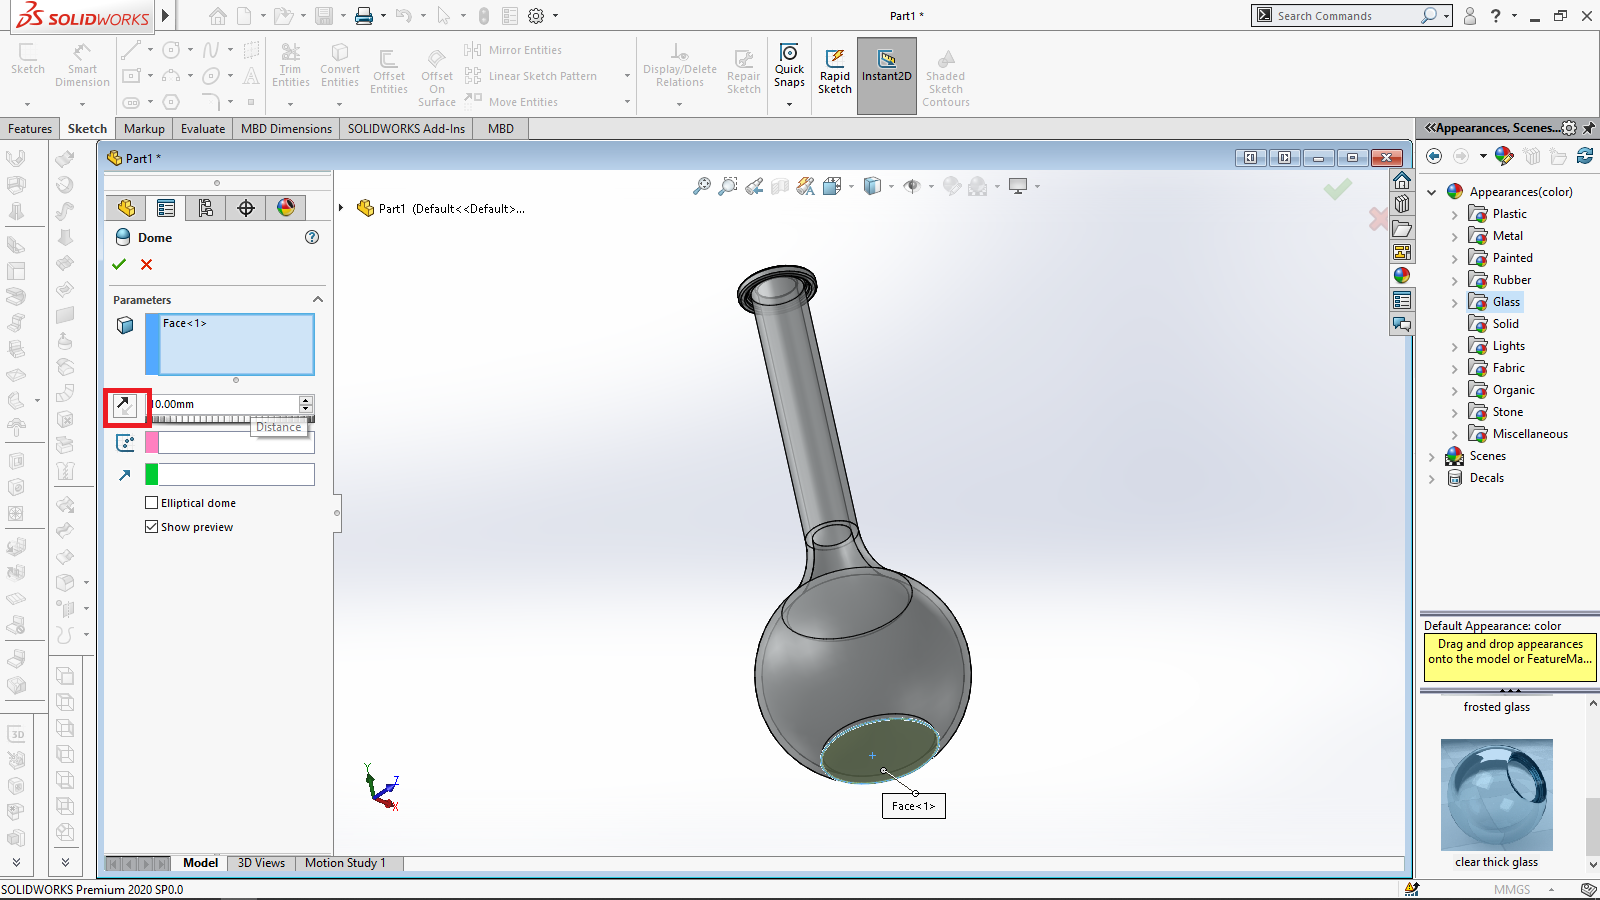
Step 5: Reverse Direction
Click to create a concave dome (default is convex).
-
Step 6: Final Result
-
Step 7: Constraint Point or Sketch
Control the dome feature by selecting a sketch that contains points to constrain the shape of the sketch. When you use a sketch containing points as a constraint, the Distance is disabled.
here u have create a plane and take a point and place it at the center
-
Step 8: Dome creation
now exit the sketch and go to dome option
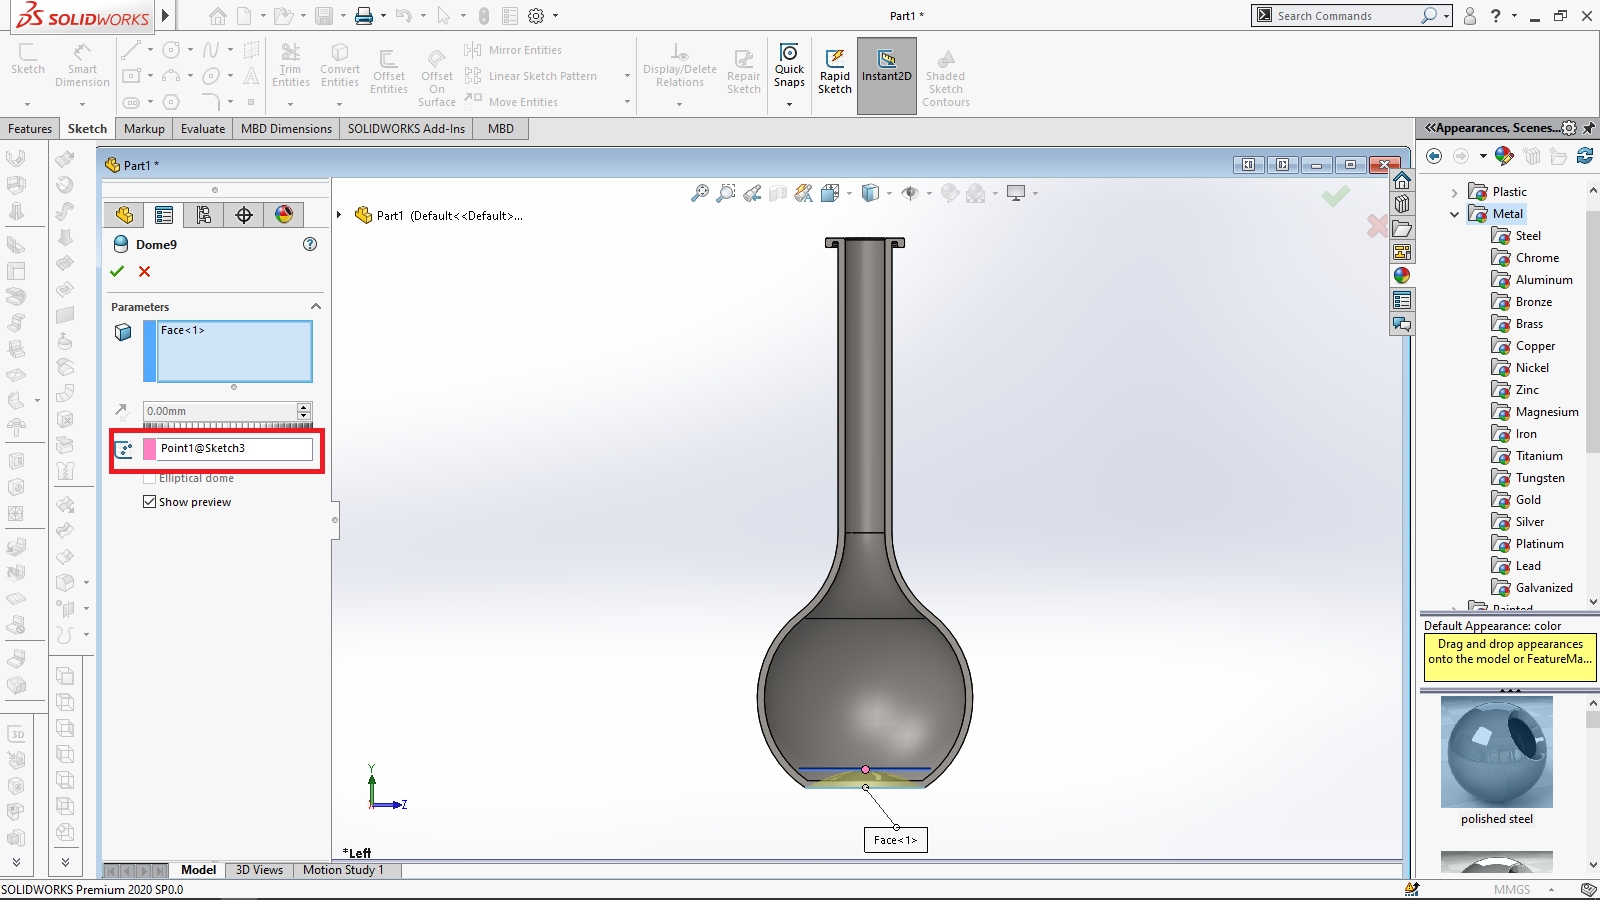
and select the option Constraint Point or Sketch and select the point as show in the fighure.

this is how the final dome is generated.
-
Step 9: Elliptical Dome
Specify an elliptical dome for cylindrical or conical models. An elliptical dome's shape is a half ellipsoid, with a height equal to one of the ellipsoid radii.
to create elliptical dome feature all we have select is the elliptical dome check box in this you can radii by scrolling or typing values in distance command box also u can change the direction.

-
Step 10: Conclusion
Thanks for checking on the tutorial please let me know if you have any problem.