

How to Apply Appearances in SOLIDWORKS


Want to apply colors, textures and decals onto your models? This tutorial will help you learn the ins and outs of applying appearances in SOLIDWORKS.
-
Step 1:
When applying an appearance to the part file, there are different ways to get there:
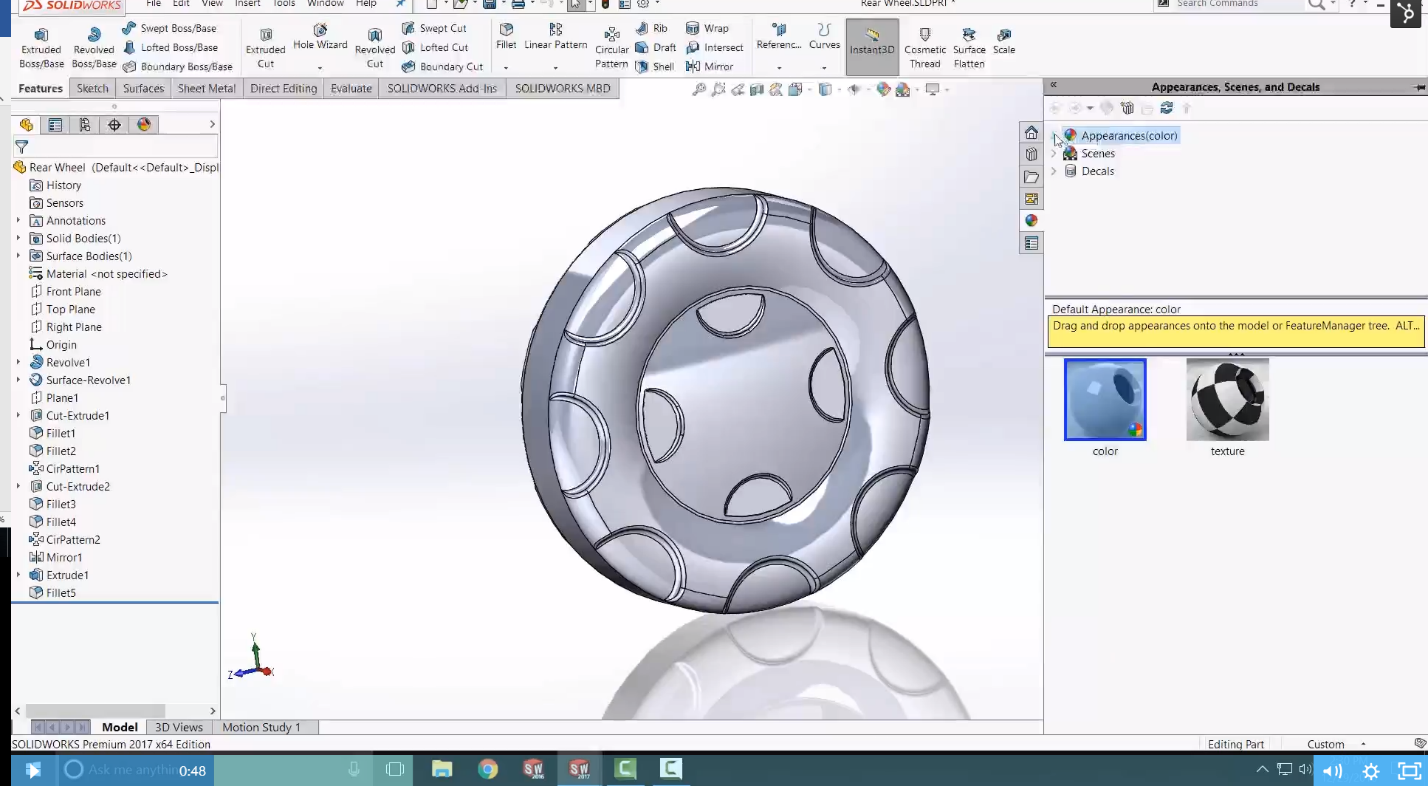
Use the Color Wheel on the right-hand side of your SOLIDWORKS interface, find the appearance you would like and drag it onto the model.
-
Step 2:
There are several different reflections, shading styles and options to create realistic looking appearance. Once you apply them to the model, you can choose where they are going to go (face, feature, body or part). You can also get more options when you apply this appearance when you hold the Alt key and drag it onto the model itself. When you apply the appearance, you can hold the Alt key and make different adjustments in the color option.

-
Step 3:
You can also save and store your appearances for later. Additionally, there’s an advanced tab that allows you to adjust illumination effects, surface finish and mapping.

-
Step 4:
Inside the model itself, there is also a fly out on the Feature Tree. The fly out will show you that appearance and you can adjust or remove it.
This is also important as we talk about assemblies. Using a tractor as an example, you can define other appearances on it as well. You can drag and drop another color.

-
Step 5:
You can fly out the color appearance wheel and see where the color is defined. The triangle (facing the bottom) shows that the color is defined at the part level to the part itself. You can fly out the color appearance wheel and see where that is defined. You can also define the color to the part at the assembly level.
You will see that it will put a different style of triangle on there, which overrides the part appearance. This is useful when you’re working with large assemblies and want to color individual components and not have it affect the appearance of the part level itself. It helps distinguish each individual component if each component is made of the same material.
There is another tool within SOLIDWORKS that allows you to copy and paste appearances from one to the other. You can copy one appearance and paste it over to another component by using the Quick Pic and define it to the actual part itself. You can finish it off by adding other colors to the rest of the assembly.

Click here to watch the full tutorial video.