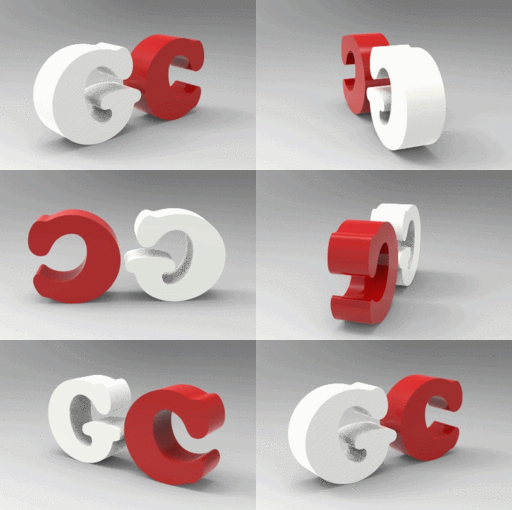
How to Create GIF file After Rendering?? ( Solidworks + Keyshot + Photoscape)

So many Engineers asking me to How to create GIF file which is Shown in Your profile picture..
So Here is the Answer...
-
Step 1: Create Model
Create Model Like : Grabcad Logo. (GC) (Or Anything you want.)
~ By using Solidworks or other CAD Software.
-
Step 2: Save Model
Apply Different Color on Faces While modelling.
~ Save Model.
-
Step 3: Import In to Keyshot
Now Open Keyshot & Import File from Your Computer.
-
Step 4: Keyshot View
-
Step 5: Adding Material & Colors
Now apply material color from left side tab.
-
Step 6: Animation
Click on Animation tab.
-
Step 7: Animation Wizard
Click on Animation Wizard.
-
Step 8: Animation Type
~Select Rotation
~ Click on Next
-
Step 9: Select Model to Animate
~ Select & Click Next.
-
Step 10: Animation Properties
~ Change rotation angle.(0 to 360)
~ Select axis for rotation of text.(X,Y,Z)
~ Enter End time for Animation.
~ Click on Finish.
-
Step 11: Animation Ready.
~ Your animation is ready.
-
Step 12: Render
~ Now Click on render tab.
-
Step 13: Render Properties
~ Select Animation from top tab.
~ Choose Resolution of render images and video.
~ Select folder for saving the render images and video output.
~ Click on render.
-
Step 14: Lots Of Images
~ Here is the Bunch of render photos.
-
Step 15: Photoscape
~ Open Photoscape (Its Free Software. )
~ Download link : http://www.photoscape.org/ps/main/index.php
~ Clink on Animated GIF.
-
Step 16: Drop all Render Photos from Keyshot
Drop all render photo which saves after rendering of each frame.

-
Step 17: GIF ready.
Here You Can see the effect.
~By Changing time You can increase or decrease the rotation time.
~ Click On Save.
~ GIF file is ready.

Model Link : https://grabcad.com/library/tutorial-how-to-create-gif-file-after-rendering-solidworks-keyshot-photoscape-1
-
Step 18: GIF


